Keswick to Ashness Bridge circular walk overview:
WALK OVERVIEW:
DISTANCE: 6.4 miles
TIME: 3.5-4 hours
TOTAL ASCENT: 1399ft
DIFFICULTY: MODERATE

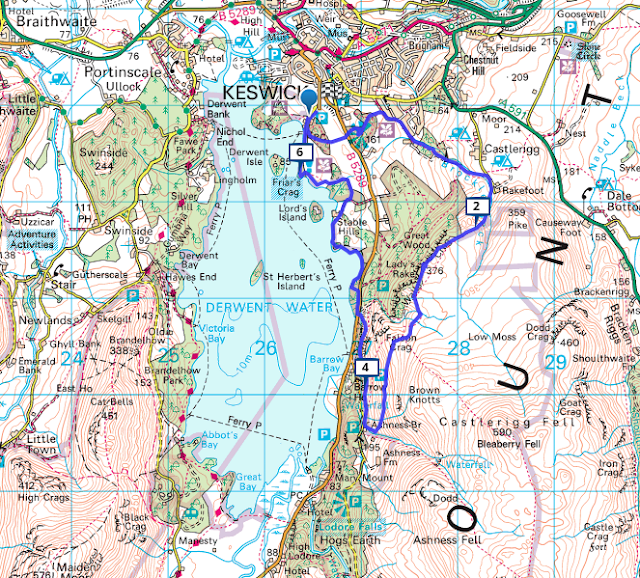
Map of the full walking route from Keswick to Ashness Bridge via Walla Crag
Photos of the walk, starting from Keswick
 |
| Soon after the start we head into Cockshot wood, where there are a few paths, but they all lead to the same end point out of the wood. |
 |
| One of the little wooden constructions that seem to be dotted around Cockshot wood |
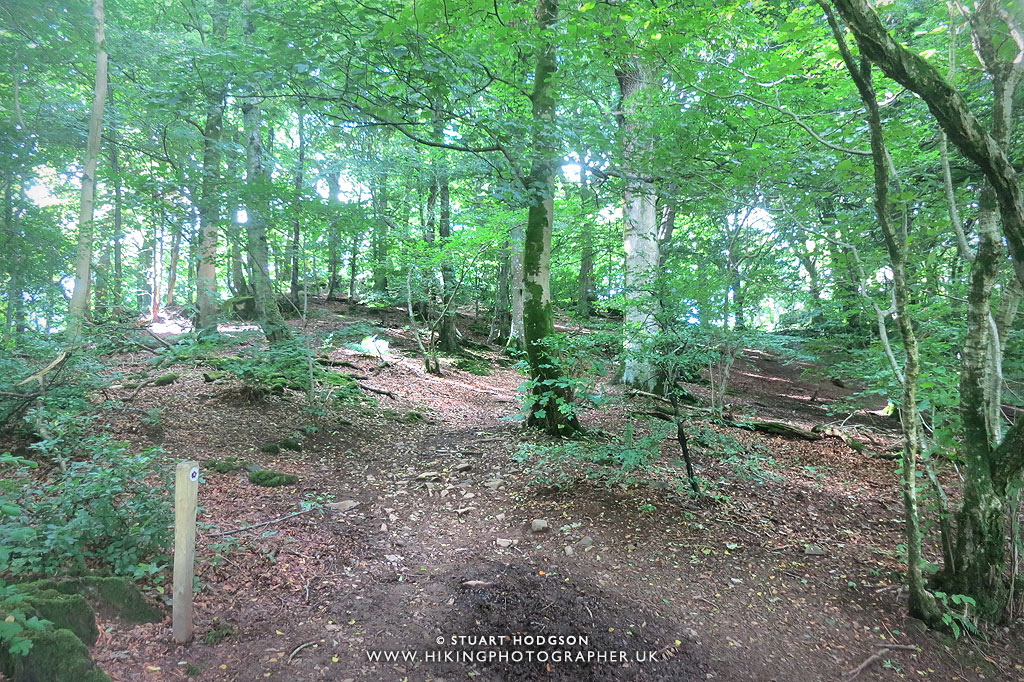 |
| While it’s a short walk up to the viewpoint in Castlehead, it’s up a hill so the heart will start pumping – there’s seats at the top though for a nice little beather. |
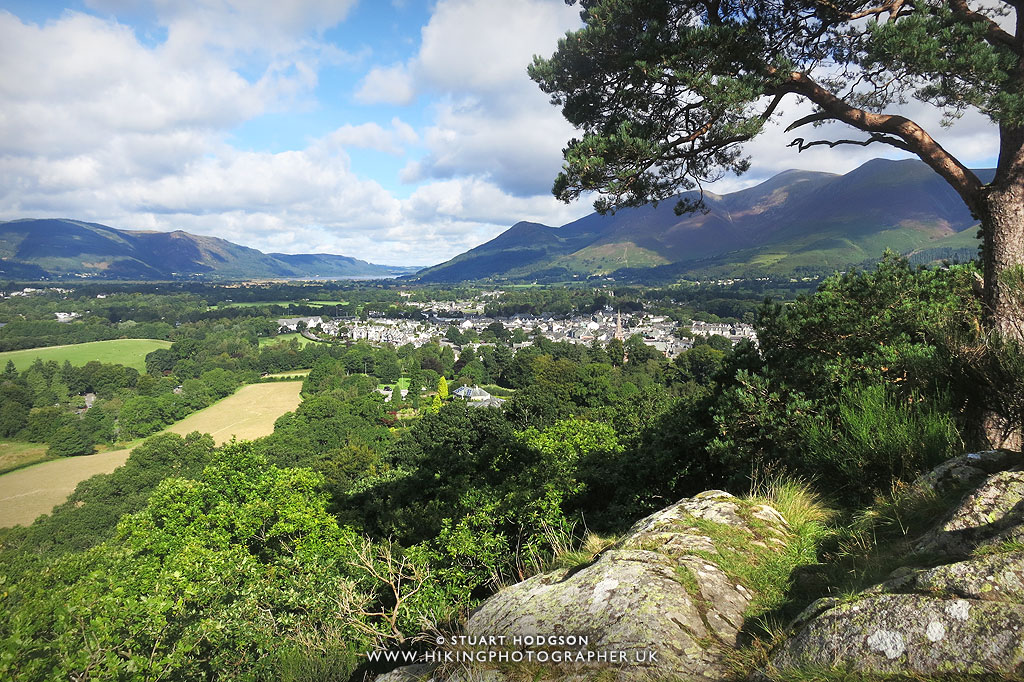 |
| The views from Castlehead over Keswick and towards the peaks of Skiddaw & Briathwaite are also pretty special |
 |
| At this point we leave Castlehead wood and walk towards the quiet Springs Road which we’ll follow for a couple of hundred metres. |
 |
| Springs Road takes us up to Springs Wood, and if your feeling peckish then this farm shop just before we enter the wood will be a welcome stop. |
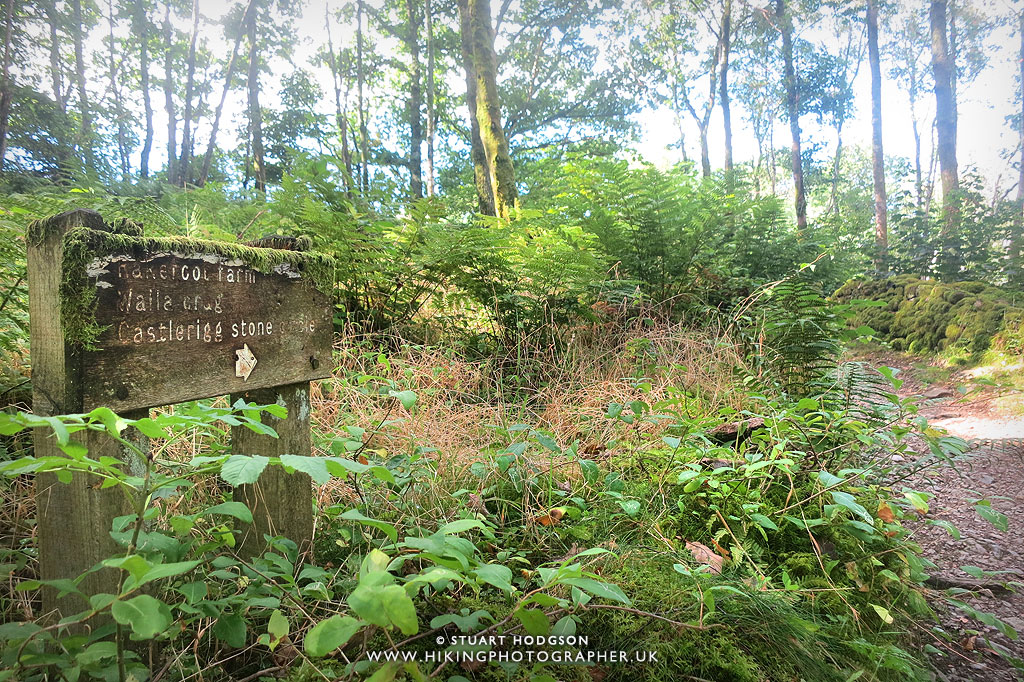 |
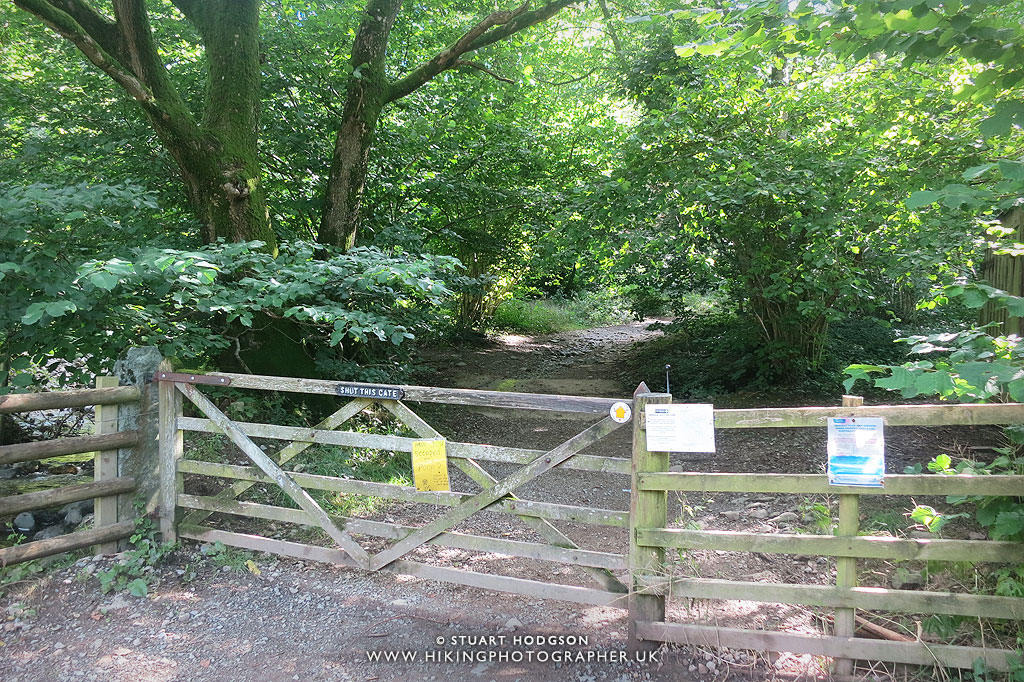
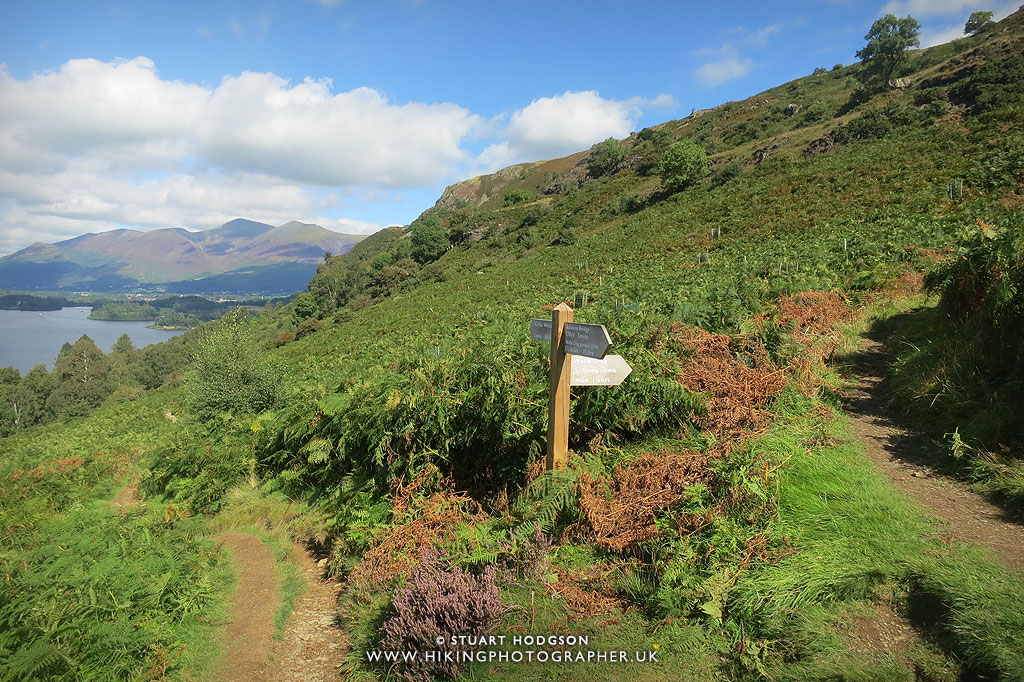
| When walking through Springs Wood – make sure you take the path that leads off to Walla Crag (signposted right in this photo) otherwise you will end up at the demolished bridge! |
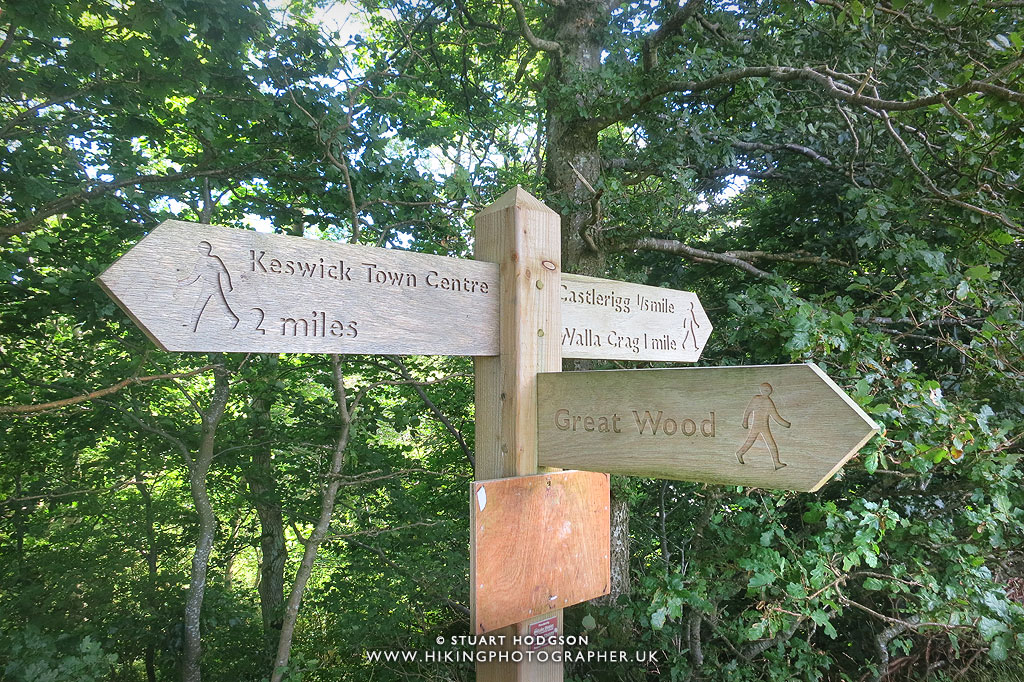 |
| Here we see that Walla Crag is 1 mile away – so just keep on the path that heads that way 🙂 |
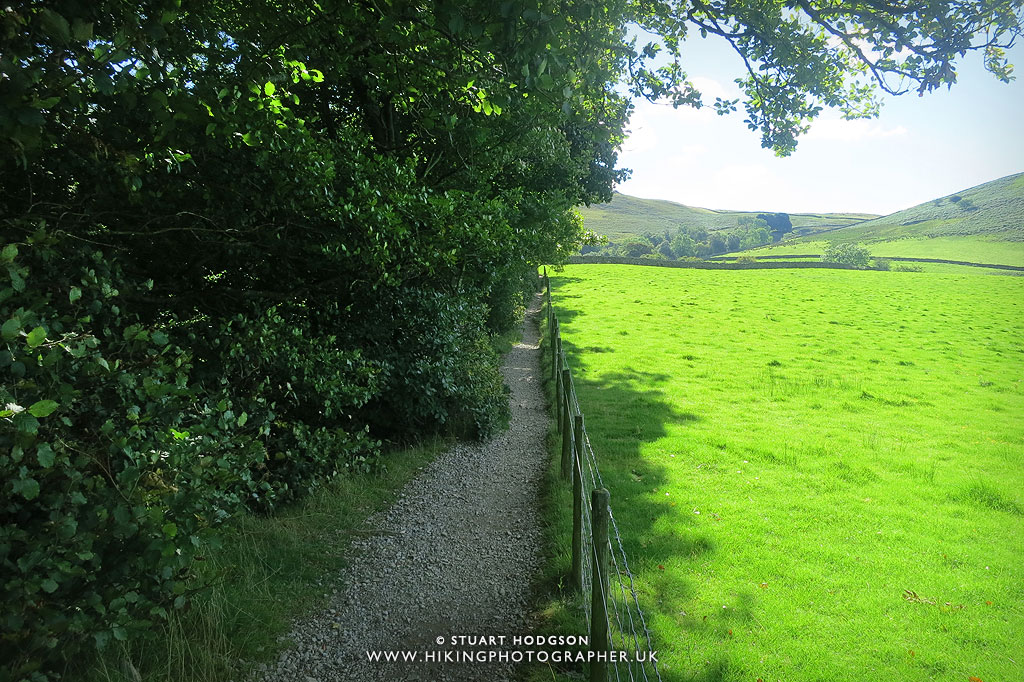 |
| Just keep following the path that has Springs Wood to your left. |
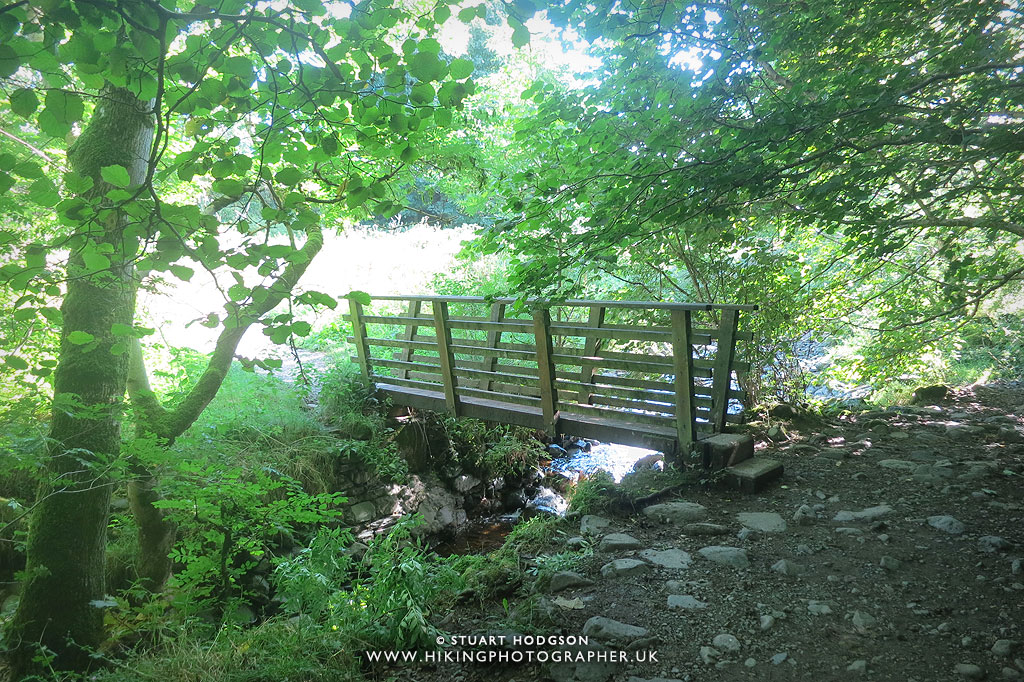 |
| A nice little footbridge we cross before leaving Springs Wood. |
 |
| It’s then a case of walking on this narrow lane for a couple of hundred metres towards Rakefoot Farm |
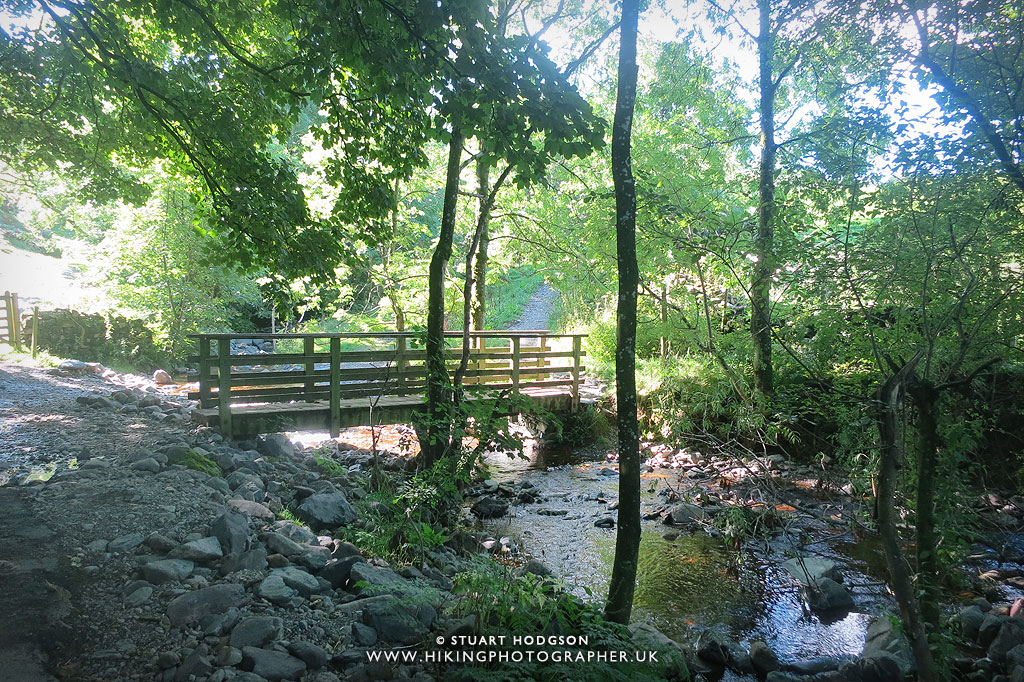 |
| As we get to Rakefoot Farm we cross the stream again where we will begin the up hill section to Walla Crag. |
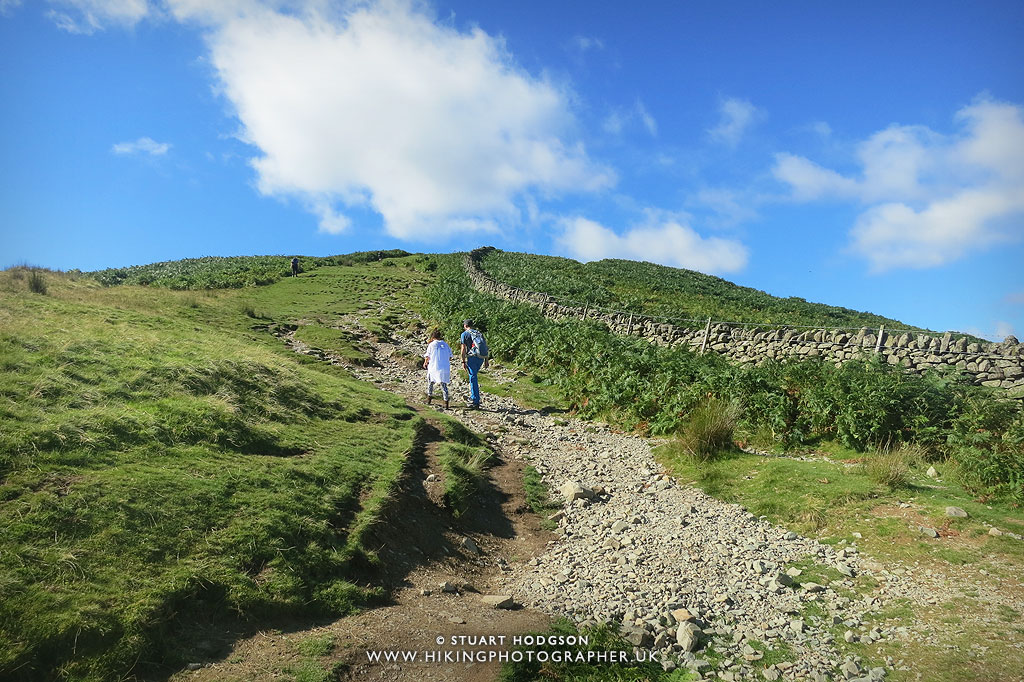 |
| This is probably the steepest part of the walk – and as you can see it’s not too bad – although you might want to take a couple of stops to “admire the views” |
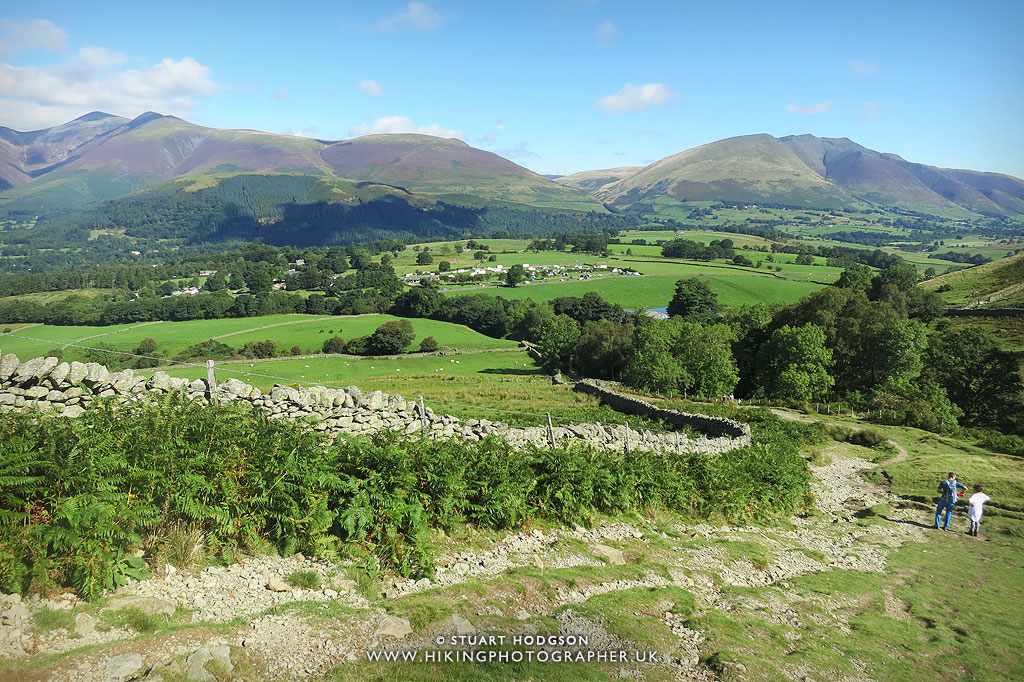 |
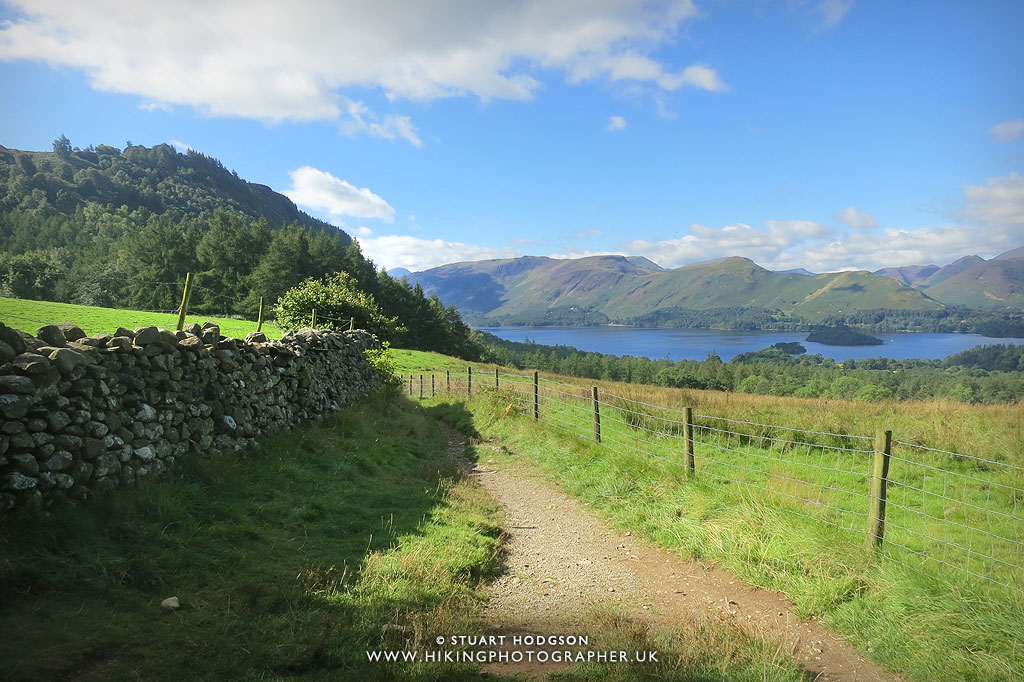
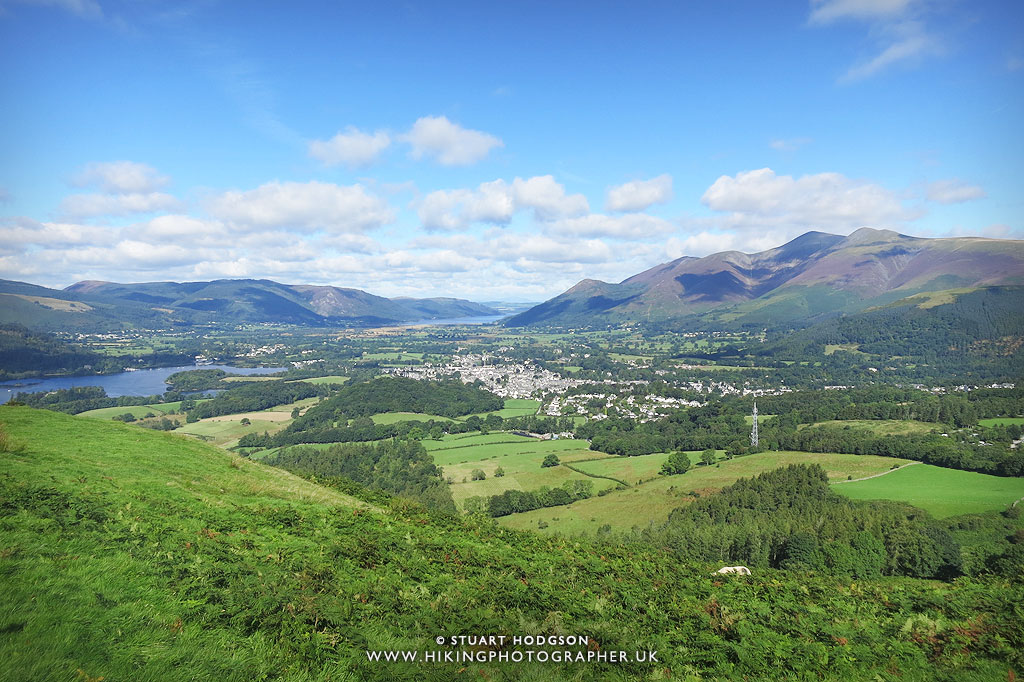
| It doesn’t take long to gain some height and looking back there are some great views of Skiddaw to the left and Blencathra to the right. |
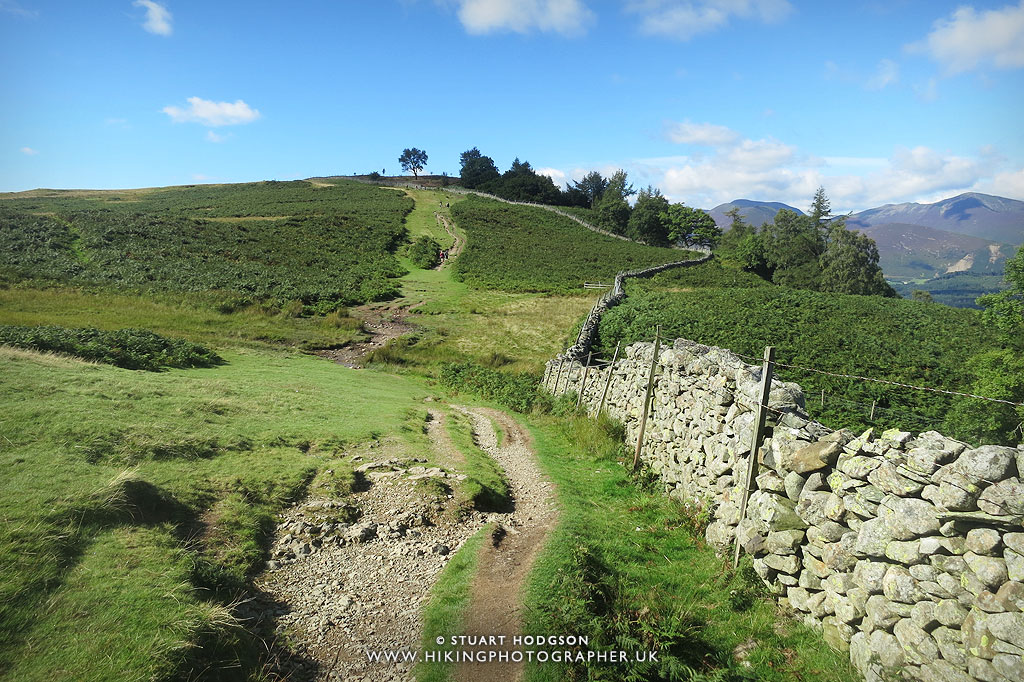 |
| The last little bit up to Walla Crag – we are warmed up now from the little hike up hill to get to here so that last little bit is a doddle. |
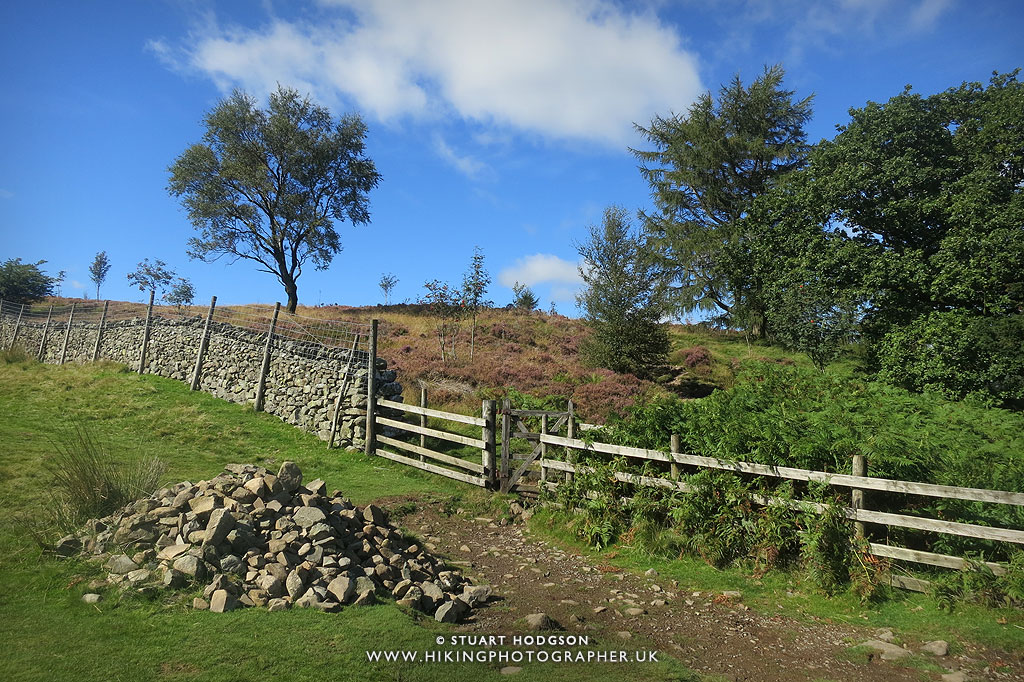 |
| At this point I like to come off the main path and head over the style into the wooded area where you will get some brilliant views along every step of the way. |
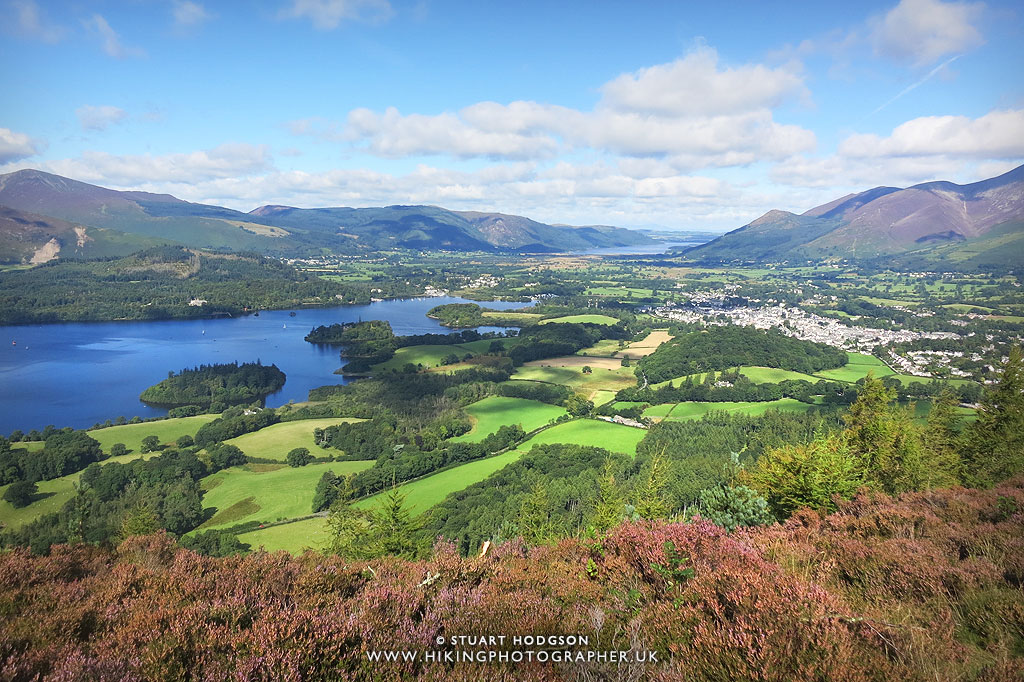 |
| The first great views along Walla Crag, whilst not at it’s highest point – you will want to stop at quite a few points to take it all in. |
 |
| One of the many rocky outcrops on Walla Crag where you can take a pit stop and admire the views. |
 |
| This cairn marks the highest point on Walla Crag, which is a little offset from the edge where there are the best views. Around here is where many walkers will stop and grab a bite to eat/drink. |
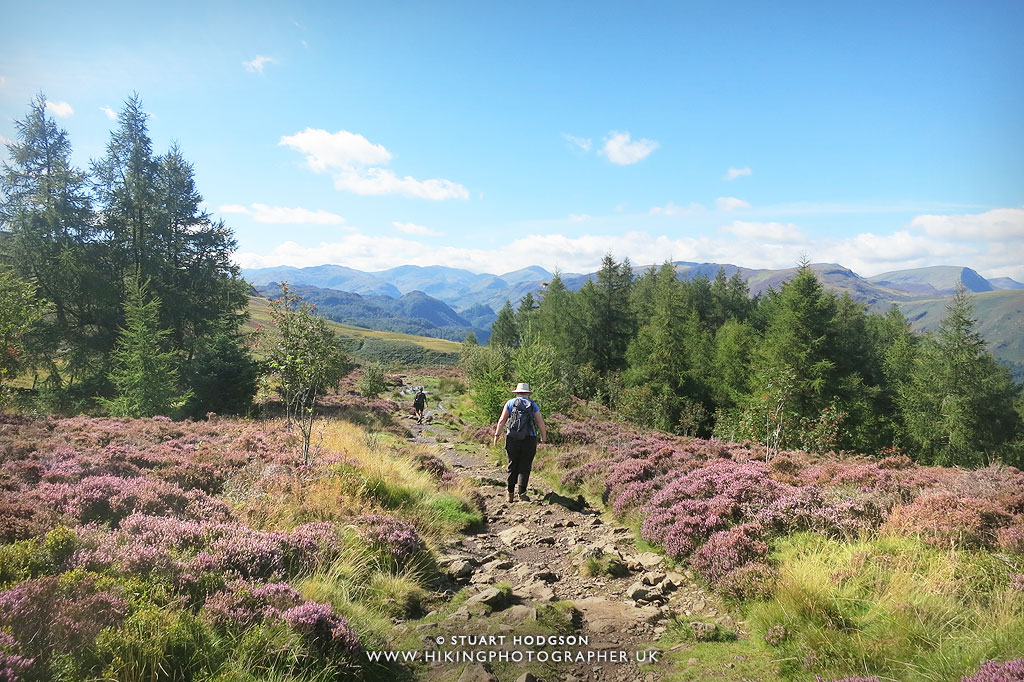 |
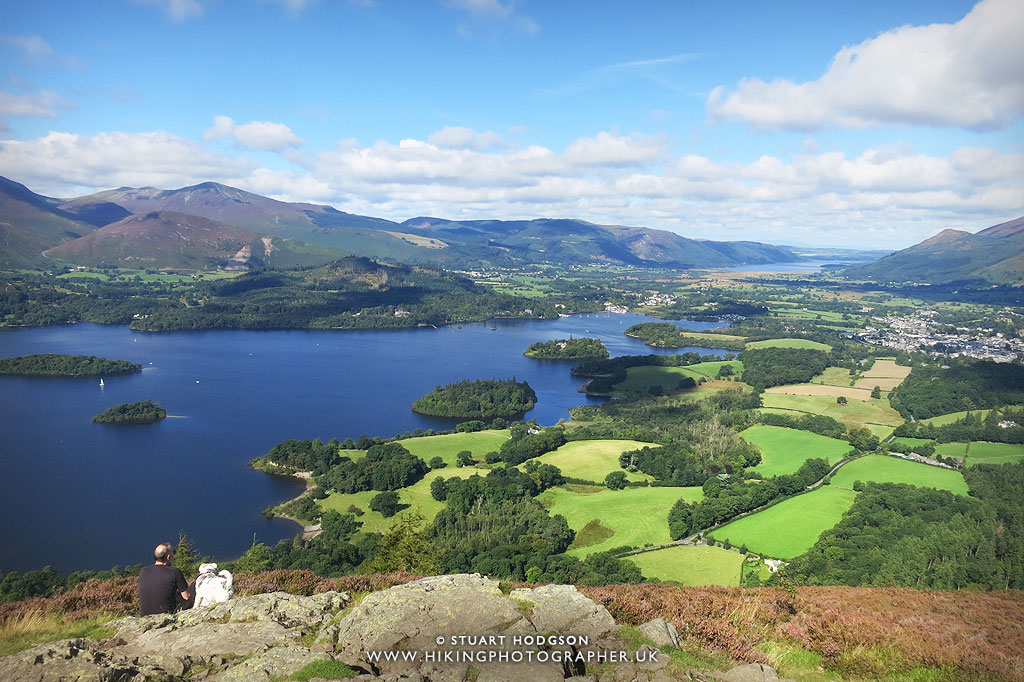
| Heading south towards Ashiness Bridge and Borrowdale. |
 |
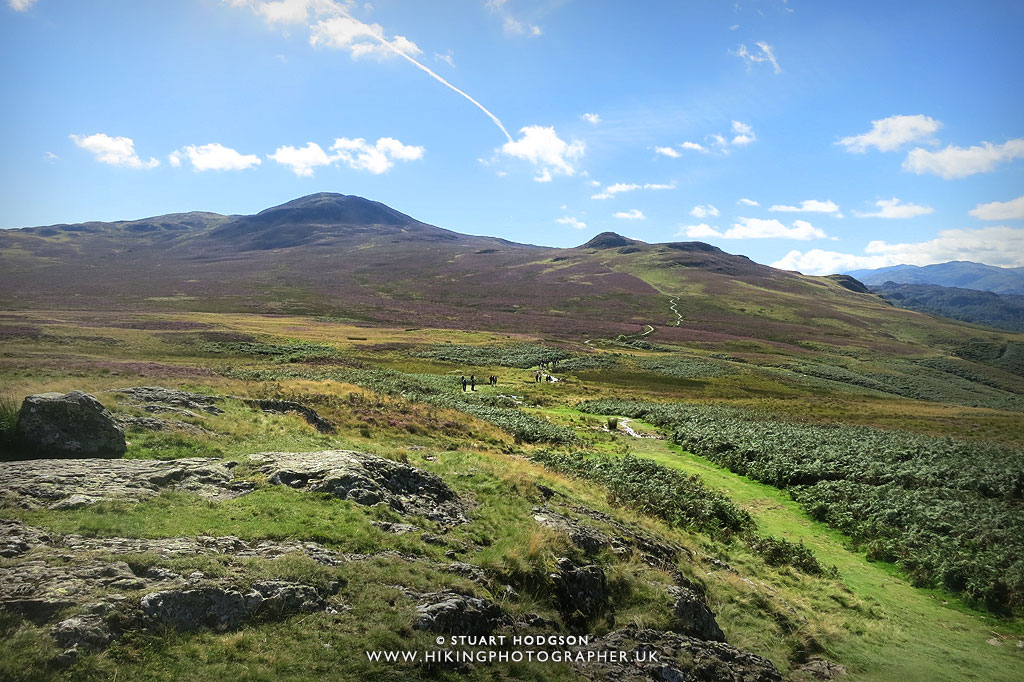
| Crossing the style – be mindful of the route as there are a few criss-crossing paths up here – so take your map with you or a Phone Map app |
 |
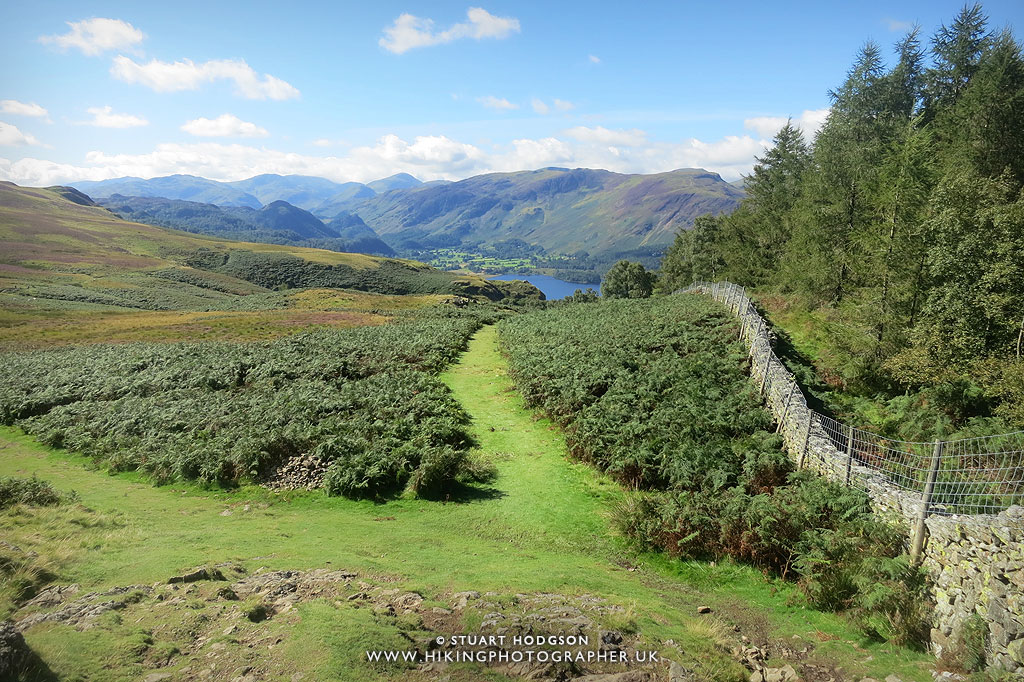
| Quite a few walkers head up to Blueberry Fell after Walla Crag (which you may like to add into this route to make it longer) – but this isn’t where this route goes today. |
 |
| At this point of the walk (called Lady’s Rake) we head towards Falcon Crag where there will be nice views of Borrowdale. |
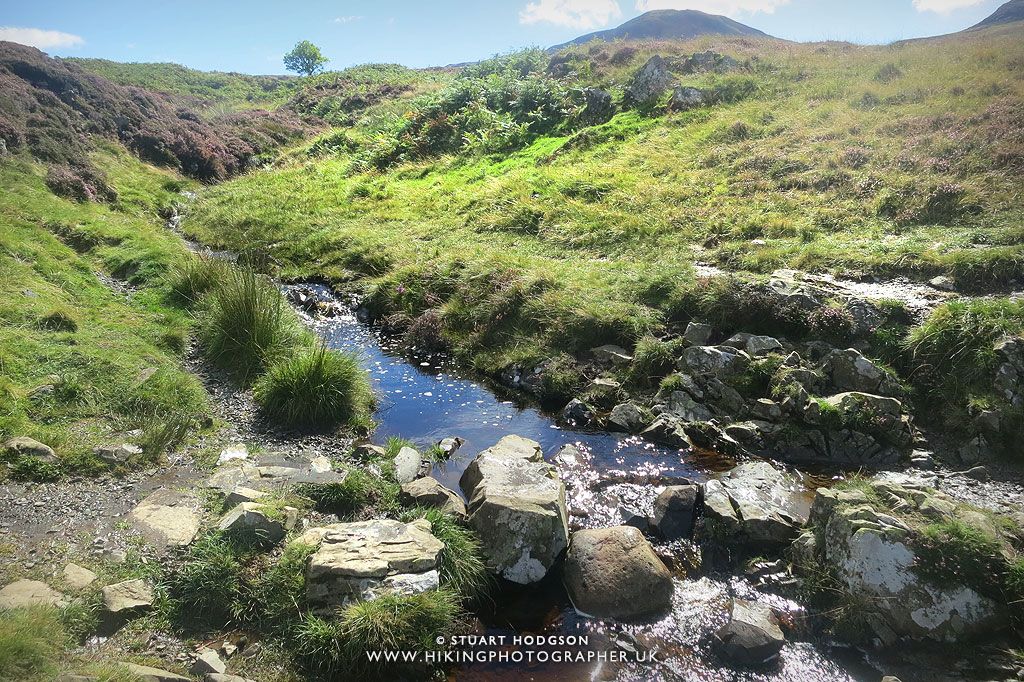 |
| Crossing Cat Gill |
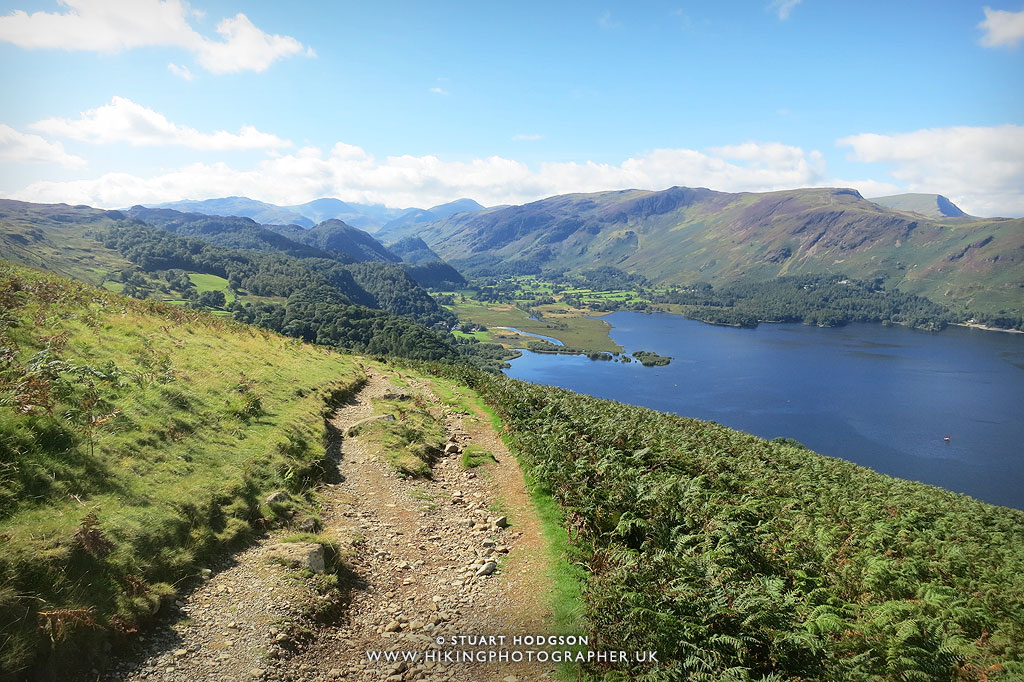 |
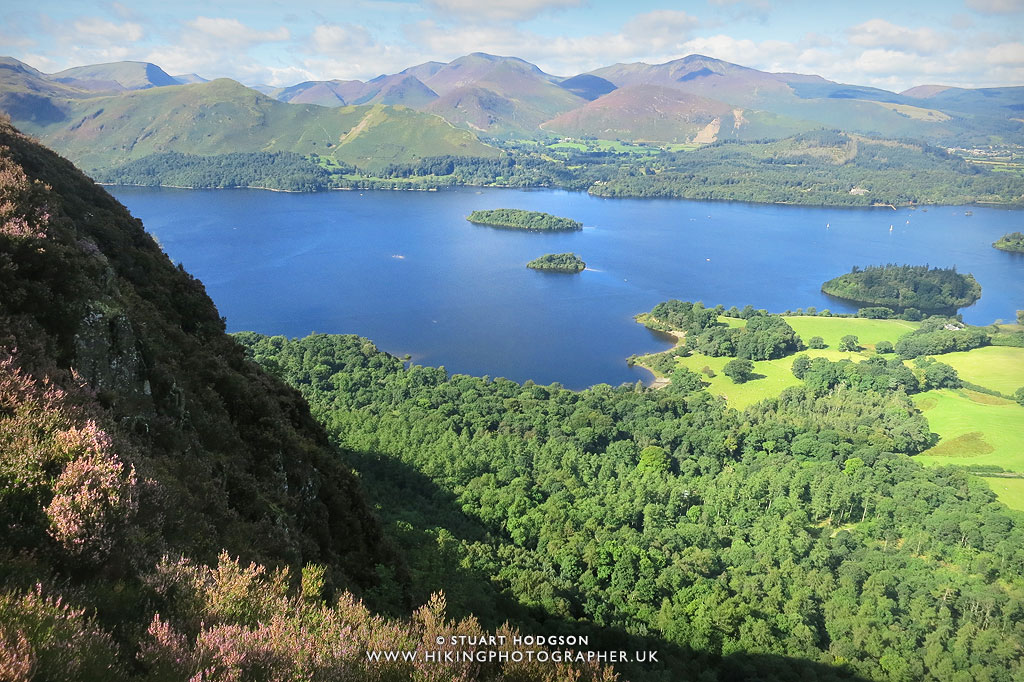
| The views from the path along Falcon Crag to Borrowdale are pretty immense |
 |
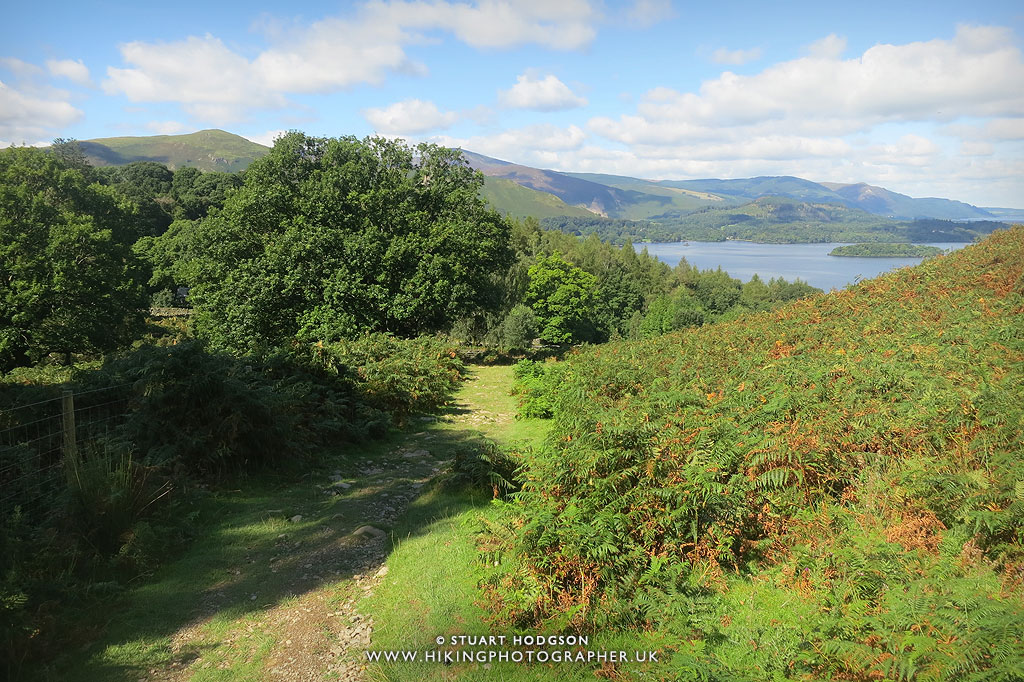
| It’s all pretty much downhill from here towards Ashness Bridge – so just soak up the scenery knowing there are no more uphill sections 🙂 |
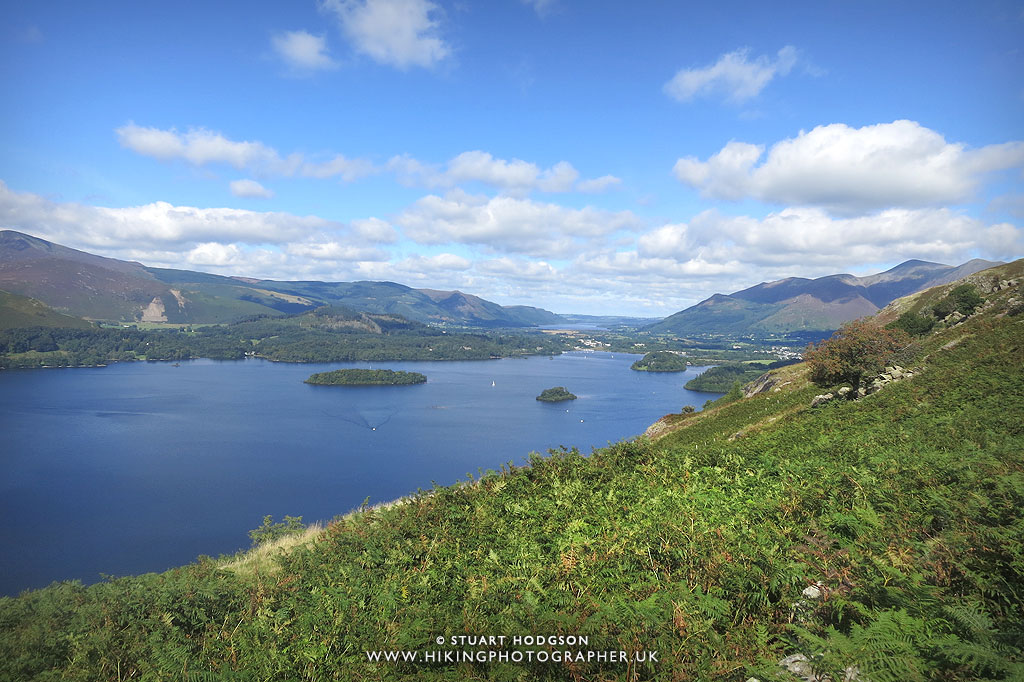 |
| Lovely views of Derwent Water and Keswick in the far distance |
 |
| We head down now towards Ashness Bridge |
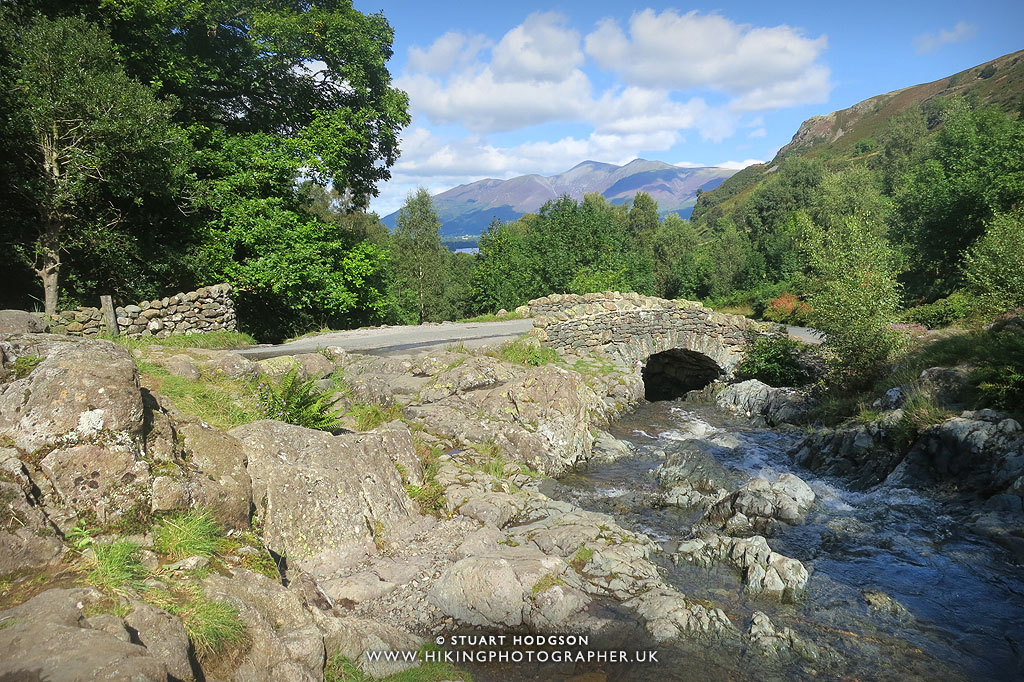 |
| The popular Ashness Bridge with Skiddaw peaking up just in the distance. This is an ideal place to stop and eat the last of the food 🙂 |
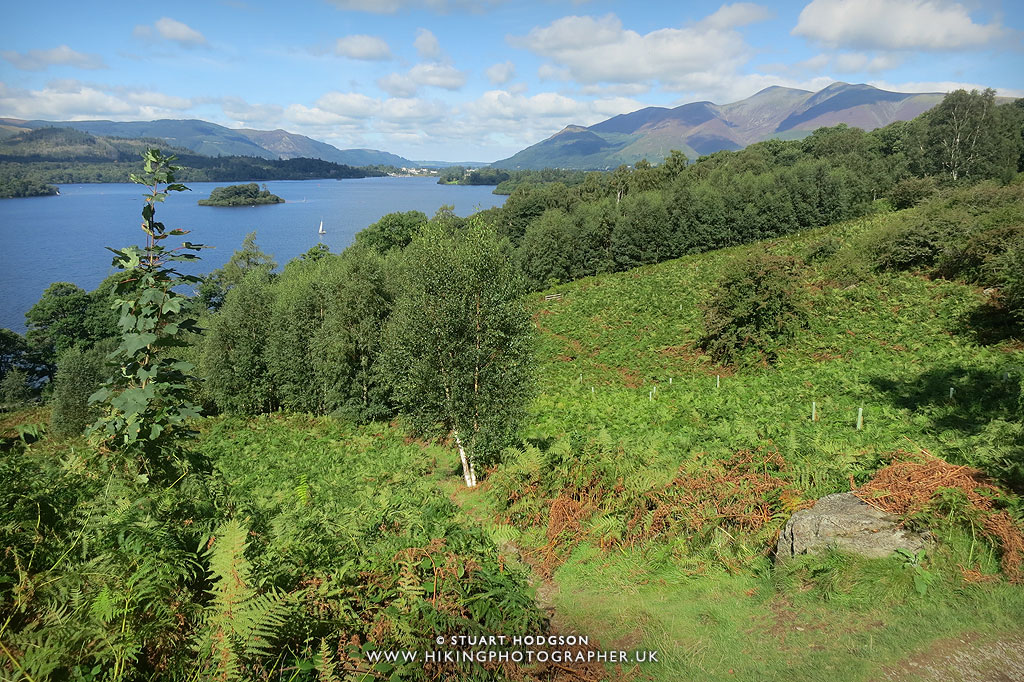 |
| At this point we leave the main footpath as that will take you into Great Wood – and head down to the waterside |
 |
| The path comes out at the road which shadows Derwent Water and we follow this for 200m or so |
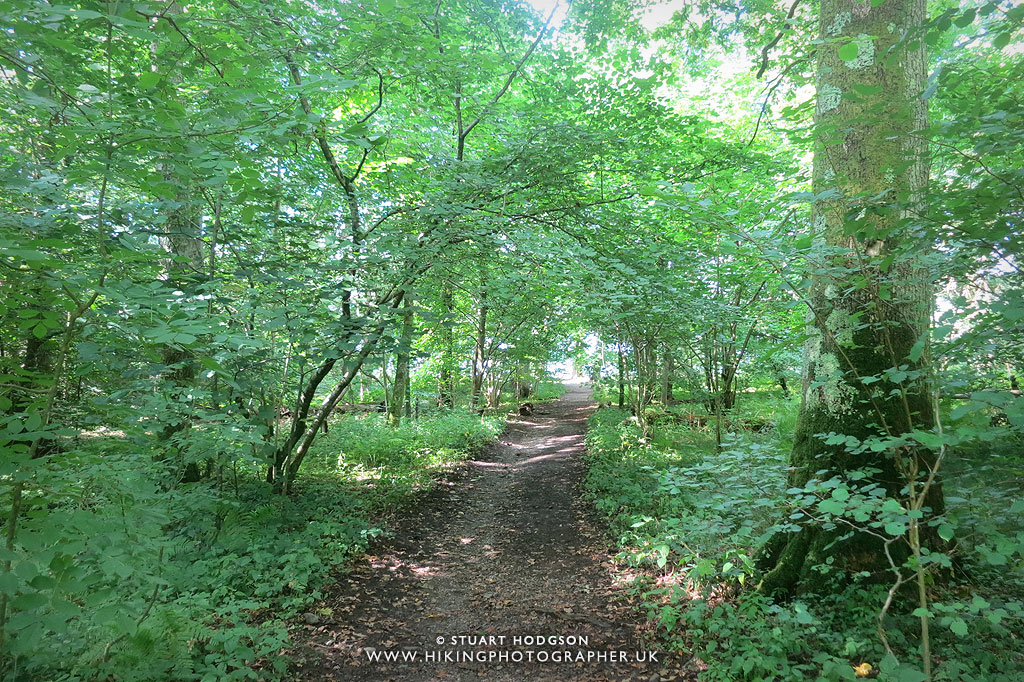 |
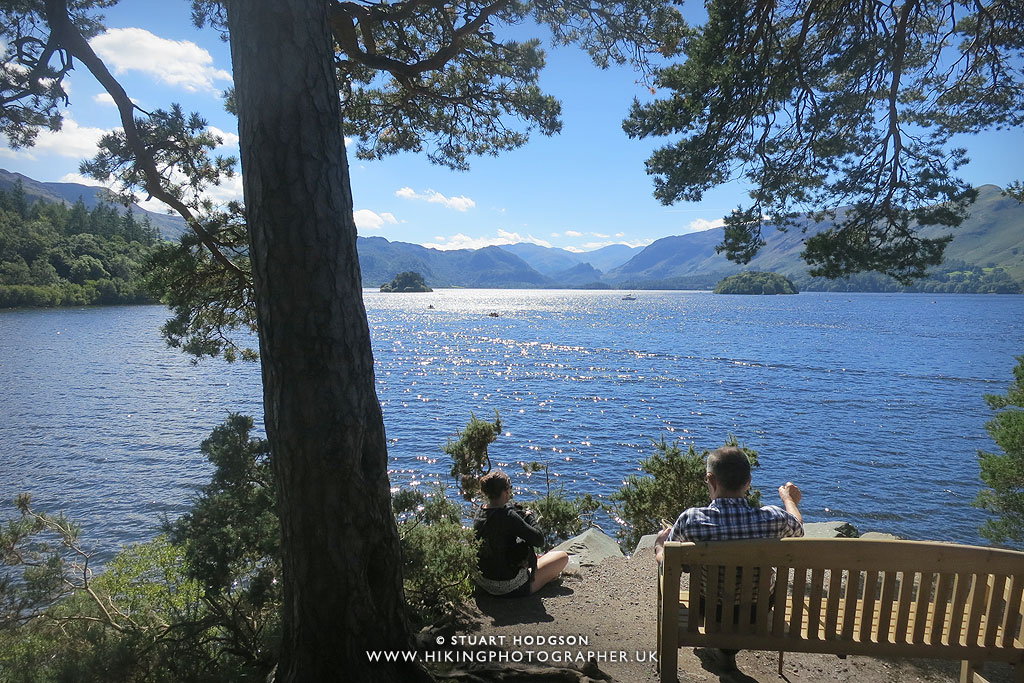
| At the earliest opportunity on your left we will leave the road and take the path that will lead to the shore of Derwent Water |
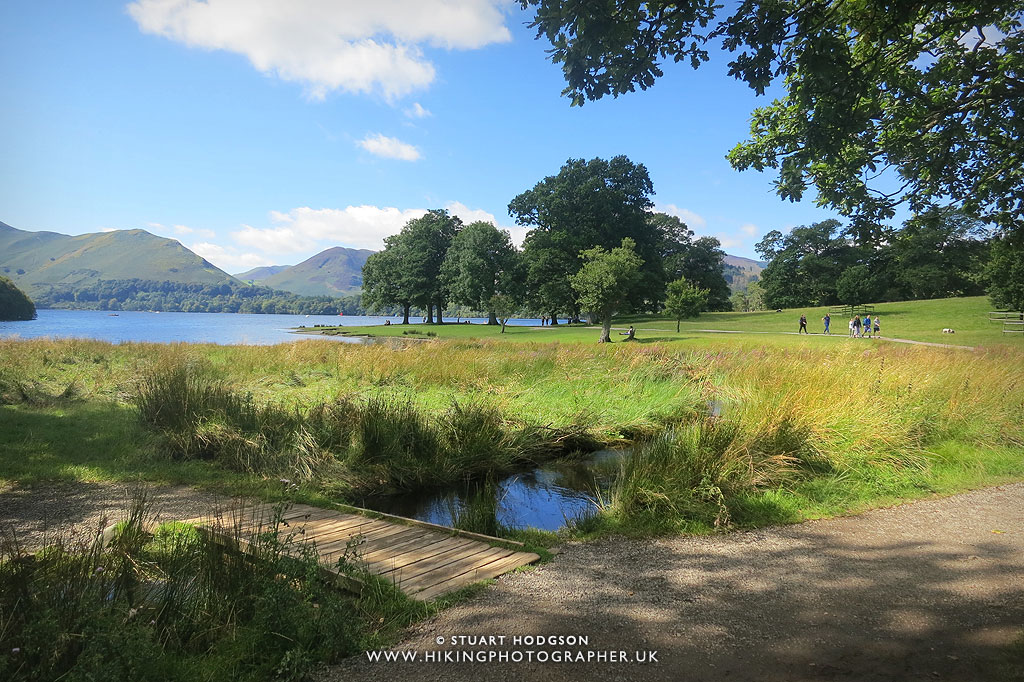 |
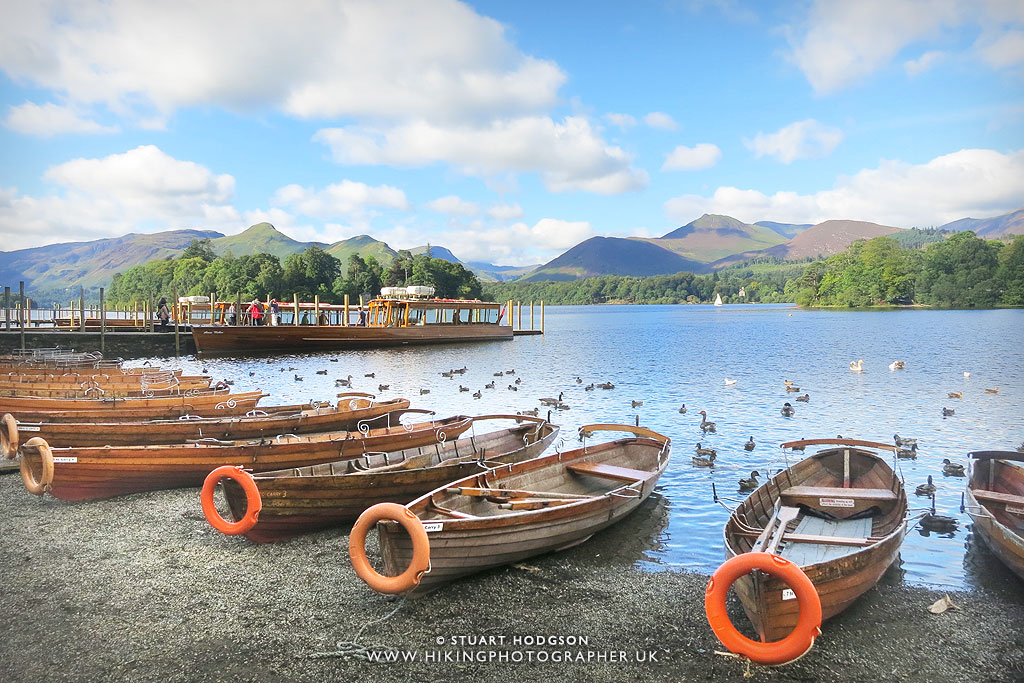
| As we follow the path back towards the start it gets much busier with people out on a leisurely stroll. |
And that wraps this walk up. As ever I hope you have enjoyed that little write up and photos and it inspires you to want to visit the area and give the route a go. If you have any questions about this route – just post a comment and I’ll try and answer. I really do recommend downloading a Phone Map App to help you find the way on this walk, especially if you are new to walking!







Loved your post, so detailed with all the places, thank you for taking the time to share it. I did a walk from Portinscale via Cat Bells round Derwent and up to Ahness Bridge at the weekend but was too busy talking we forgot to take the turn for Walla Crag. Hoping to do a sponsored walk in May for a friend who has, very sadly, recently passed ad was thinking about incorporating this route into it. Going to go from Derwent shore at the weekend to give it a go in reverse. Thank you so much for sharing, your pics are amazing. Just hope we get the weather for it too. Got quite a lot of snow this morning :0)
Hi – thanks for your comment – it's a really nice part of the Lake District – sorry to hear about your friend – and hope this blog post really helps with your sponsored walk 🙂